

Most of us can admit that if we had to choose our ideal fly-fishing scenario, it’d probably involve a dry fly. There’s nothing better than watching a trout sip a size-20 elk hair caddis off the surface, then watching the water explode in a frenzy. But, for those of us who want to catch fish regularly, the bread-and-butter technique is nymphing. It’s essential.
But, nymphing can also be a little intimidating. There are far more ways to do it wrong than there are to do it right, and chances are we’ve all dealt with tangled lines, stuck flies, and all of the frustrations that come with fishing deep. So, in the spirit, we’re going to explain three different ways to get it right, at three different levels of experience.
But first, a quick note. Whatever nymph setup you choose to go with, there are a few basic principles that you should keep in mind regardless of the scenario. First, if you’re not getting a good drift, you need to change it up—whether that means adding or removing weight—to ensure you’re getting a natural look. Second, the most common mistake in nymphing is that you’re not fishing deep enough. Too many people are fishing flies 15 inches under surface, while hungry rainbows are sipping larvae off the bottom. So, when in doubt, go deeper.
But, with that aside, let’s take a quick look at three nymphing setups you can put together for more strikes and more productive days on the river.

__
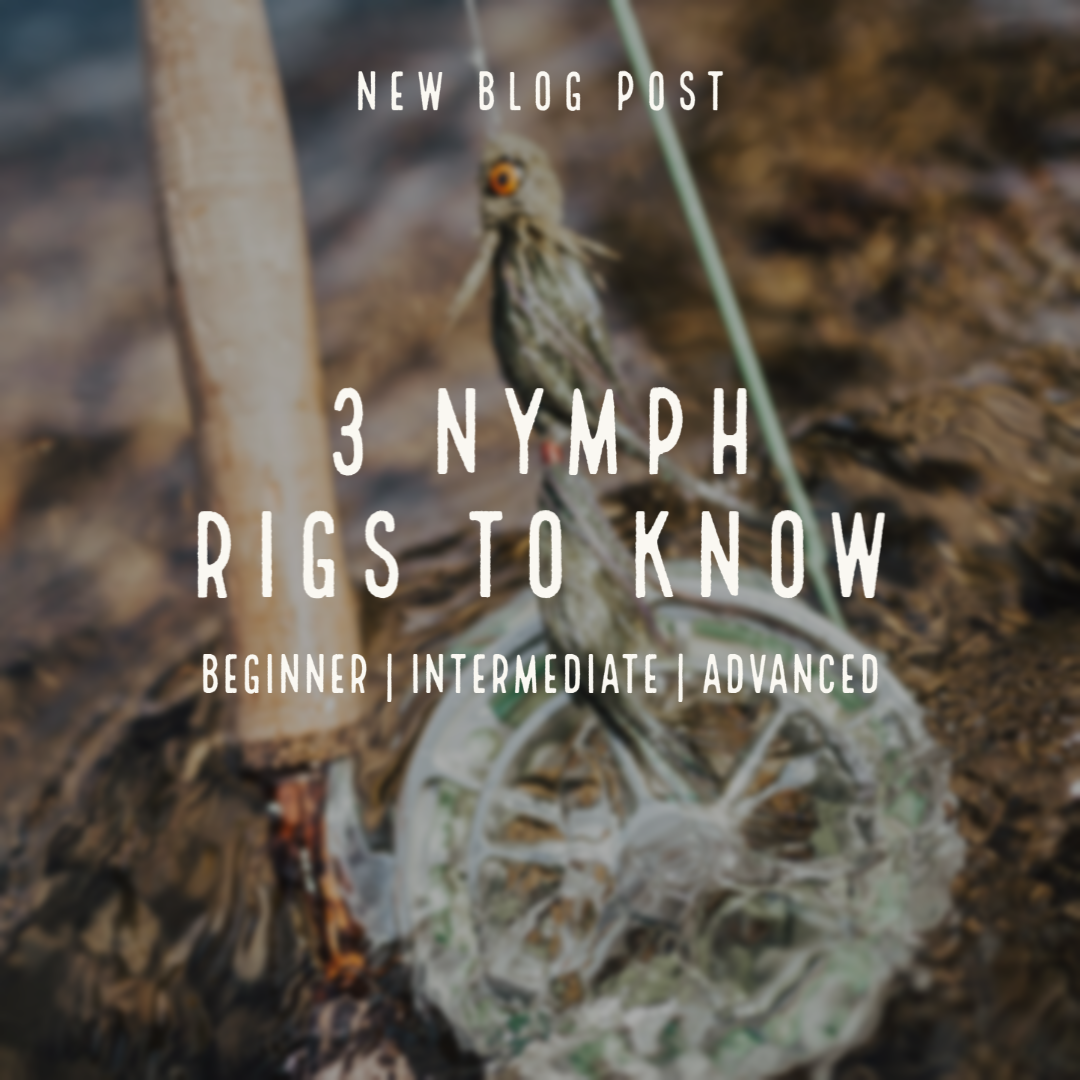
Beginner: Simple Indicator Rig
For those new to fly-fishing, this is probably the first thing you should try out on the river. It’s a great way to get used to drifting your line and watching for subtle strikes. The running joke in fly-fishing is that an indicator is really nothing more than a bobber—and that’s not necessarily wrong—but it’s also a great training tool. So, the purists may look down on it, but that could change when you’re hauling in fish and they aren’t.
As the name suggests, this setup is simple. You attach your leader as you would any other setup. Then when the line begins to taper into the tippet, we suggest cutting the leader there and retying on your desired tippet below a blood knot or triple surgeon’s knot. This creates the perfect place to attach your indicator. Just keep in mind that wherever your indicator is, that’s how deep you’ll be fishing. So, plan accordingly.
Then simply tie your desired fly at the end of the tippet. Depending on the swiftness of the current, you may need to add a heavy fly or even some split shot just above the fly to get to the correct depth. From there, simply cast and watch your drift to ensure it’s not dragging behind.
As for indicators, there are plenty of different options—from Thingamabobbers to wool rigs. We highly recommend the New Zealand strike indicator. It’s a bit more involved, but it has a very subtle casting ability that won’t spook fish and it drifts nicely in the water. Once you get the hang of this setup, you can add an additional nymph below your primary fly by tying some tippet to the bend of the hook.
Intermediate: Double Dry-Dropper
Once you feel comfortable casting and drifting heavier flies on the river, the dry-dropper setup is one of the most effective rigs you can put together. It’s used constantly by experienced anglers on the river due to its adaptability and effectiveness.
This setup is nearly as simple as the indicator setup. Choose your dry fly and tie it to the end of your leader. Then, tie your desired tipper to the bend in your dry fly’s hook, attaching your nymph from there. You can double up another fly by using the same method, just keep in mind that every new fly adds increased chances of tangles and catches. Two flies are a great option.
For this setup, you’ll need a large dry fly or a dry fly that involves a very buoyant material like foam—also bright colors are a good option so you can easily spot strikes. If you’re fishing in relatively shallow water, you could get away with a light dry fly with even lighter nymphs below it. Stonefly imitations are great options, as are grasshopper imitations, or larger fly imitations like the stimulator in size 14 and above.
As for strategies, there are plenty. You could attach a lighter, smaller fly as your first nymph, to imitate a midge floating just below the water. Or, you could have a longer tippet below your dry fly and attach a heavier nymph to run along the bottom, with a lighter nymph 12 to 18 inches below it. This will suspend the lighter nymph just above the bottom. There are dozens of different ways to fish this setup and be sure to experiment with it. Also, watch your dry fly on top as well—the beauty of the double-dropper is that there are three ways to catch fish, including on the surface.
Advanced: Euro-Nymphing Rig
Last, but certainly not least, is the euro-nymph rig. While it’s a fairly involved process, it’s also deadly on the river—there may be no more effective way to fish for trout. With the euro-nymph rig, you can fish just about any current at just about any depth, while detecting even the slightest strike.
To start, we designed our Epiphany rod specifically for euro nymphing. It’s an extremely sensitive rod designed to pick up on subtle strikes in swift water. Plus, with the 10-foot length, you’ll be able to dead drift flies through pools across currents with ease. It’s the perfect companion for the dedicated nymph angler. But, as for the actual setup, here are the basics for putting it together.

First, you’ll attach a thick leader, like 2x or 3x, to your fly line. Then, the key to the whole setup is your indicator line. It’s a bright section of leader that will show you when your nymph rig is running along the bottom, so you can detect strikes and catches. There are multiple different options, but we recommend Amnesia colored monofilament—also, brightly colored dacron backing works fine as well. There are also euro nymph leaders with an indicator section built-in.
Use blood knots or surgeon’s knots to attach your indicator line, then attach a 3x-5x tippet that will lead to your first, lighter nymph. You’ll then attach your second, heavier nymph below it from the bend in the hook. Depending on the current, you’ll most likely need to add some split shot in between the indicator line and your first fly.
And, there are variants to this as well. You could drop your higher nymph off of the rig using a surgeon’s loop to spread them out. Or, you can add an o-ring below the indicator line, running some tippet off of it to attach your split shot. This is helpful because if you snag on the bottom, it’ll only be your weights catching and not your flies.
If all of this sounds complicated, it sounds harder than it is, but this video does a nice job of laying it out. This entire setup is designed to run flies along the bottom where trout are feeding most of the time. Plus, by adding weight, you can run flies in the swiftest currents where most anglers cannot, giving you a key advantage.
__
There are a million different ways to drift nymphs—and all of them are right or wrong depending on who you ask. That being said, as soon as you get the hang of it, you’ve honed in on the most consistent and effective way to catch trout just about anywhere. So, start slow and build-up to the more complicated setups. Once you get the hang of it, nymph fishing at any level will feel like second nature.
Leave a comment
All comments are moderated before being published.
This site is protected by hCaptcha and the hCaptcha Privacy Policy and Terms of Service apply.